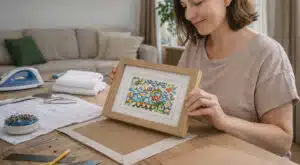
Have you always wanted to learn how to do a punch needle kit, creating something unique and creative? The truth is, while punch needle embroidery is a bit complicated, once you get the hang of how to do it, the whole process becomes naturally simple and easier.
Therefore, if you are just starting to learn how to punch needle and looking for easy-to-understand guidance, you’re in the right place. This comprehensive guide includes all the step-by-step process from selecting the right materials to creating your final masterpiece.
Keep reading to know the secret!
Materials You’ll Need to Get Started
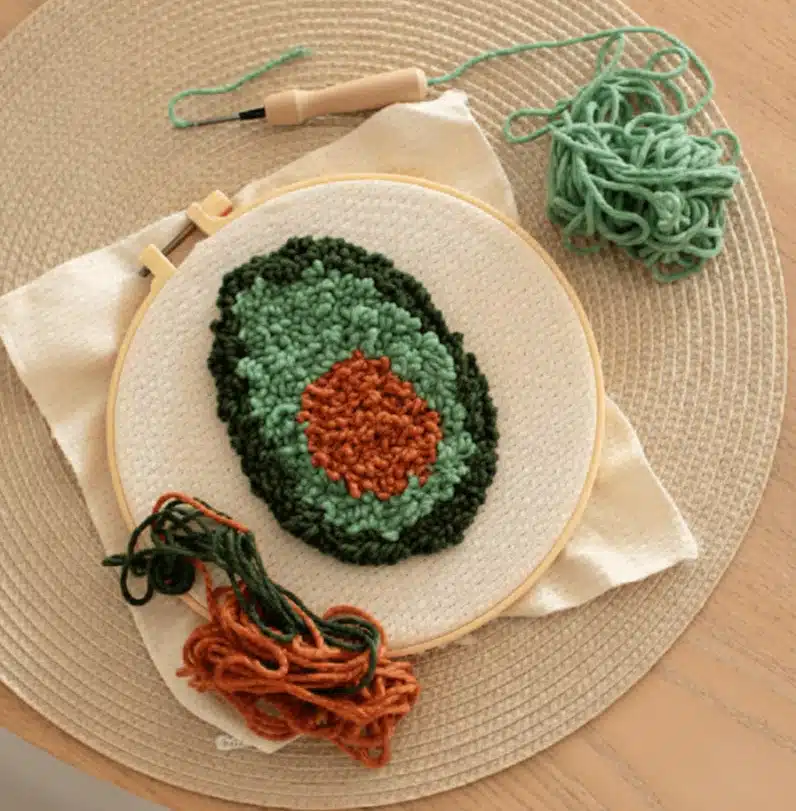
Before you embark on your punch needle embroidery journey, you need to gather these materials to make your design presentable, easier, and perfect:
- A punch needle tool
- Monk’s cloth or linen fabric
- Embroidery hoop or frame
- Yarnsor threads
- A printed or blank pattern
- Marker pen
After gathering all these, you can set up your space and follow these steps for your punch needle kit.
How to do Needle Punch
#Step 1: Plan Your Design
You need to have a design, whether you want to create your own or have a design to replicate. If you want to use your initiative, just draw the design somewhere with a maker pen and a clean sheet, but if not, you can check your punch needle kits, as some come with pre-printed designs, or explore online for different designs and choose the one that fits your preference.
#Step 2: Prepare Your Workspace
You need to find a place that would not only enhance your creativity but also give you room to express yourself without interruption. Make sure the place is clean with a good light reflection. Importantly, the surface must be flat enough to lay out all your materials in a well-organized way to make the process smoother.
#Step 3: Thread the Punch Needle Tool
Most people find this stage difficult, especially when they want to insert yarn into the eye of the punch needle. That’s why it’s so important to use needle threaders. Below is a simple step-by-step process to follow:
- Gently pull the needle threader through the hollow handle of the punch needle.
- Loop your yarn through it and pull it back out through the needle’s eye to allow the yarn to enter the needle’s eye.
- Once the yarn is through the needle’s eye, carefully remove the needle threader from the yarn.
- Keep the yarn loose enough to flow freely as you punch.
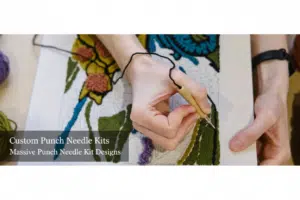
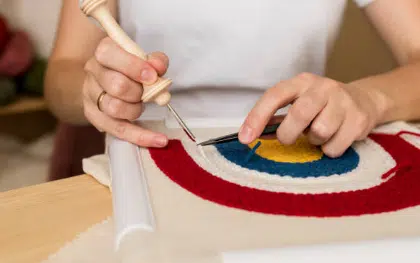
#Step 4: Start Punching the Design
Before you start punching, make sure your fabric is firmly attached to the embroidery hoop to make the work easier. Having done that, hold your punch needle tool like a pen, with the beveled side facing the direction you’re punching. Below are the steps to follow:
- Insert the Needle:Push the needle straight through the fabric until it stops, then lift it slightly (without taking it out completely) and move it forward for the next stitch.
- Pull the Needle Back:Once the needle is perfectly inserted, you can then gently pull it back while maintaining the parallel position to the fabric. Each punch has to form a small loop on the back of the fabric.
- Continuing the Process:Move slowly and repeat the process steadily, ensuring each stitch is close to the previous one.
- Start from simple to complex:Since you’re new, you can start with simple shapes to get used to how the loops from.
# Step 5: Fill and Finish
Once your design is filled, you can now trim any excess yarn from the front and apply a small amount of fabric glue to the back to secure the loops. You can also remove your piece from the hoop in case you want to frame it or sew it onto a pillow.
That’s just it, not more than that. If you carefully and consistently follow this process, you’ve learned how to do punch needle art.
Common Mistakes and How to Fix Them
Even with a good kit, there are some common mistakes or challenges you can face as a beginner. Here are the most frequent issues and easy fixes for them:
- Loops keep pulling out:This is possible if your fabric is too loose or you’re lifting the needle too far. What you have to do is keep it snug and glide gently.
- Yarn tangles:It’s possible that the yarn tangles while punching. To solve this, you have to make sure the yarn flows smoothly through the needle and avoid pulling it tightly.
- Uneven stitches:This is a common mistake that most beginners always face. What should you do if your stitches are uneven? You have to keep maintaining steady pressure and spacing as you punch. Consistency is key to neat designs.
Is punch needle now hard? Not at all. Like any other craft, you just have to take a little practice and patience.
Helpful Tips for Beginners
To improve your skills as a beginner, below are basic tips you must understand and apply:
- Start with simple patterns before moving to detailed or complex artwork.
- Make sure your fabric is tight in the hoop, as slack fabric causes messy loops.
- It’s recommended that you use medium-weight yarn if you’re a beginner, as it flows better.
- Punch in rows or circles to fill your design evenly.
- Practice on scrap fabric before your main project to test your tension.
FAQs
1. What is a punch needle kit, and what does it include?
A punch needle kit is a craft set designed for the technique known as punch needle embroidery. It includes a punch needle tool, fabric, yarn/thread, a hoop or frame, and others.
2. How do I thread a punch needle tool?
To thread a punch needle, use the wire threader included in most kits: insert the threader through the hollow tool from tip to handle, load the yarn into the threader loop, and pull it back out so the yarn travels through the needle. Then insert the yarn through the small eye near the tip. Ensure the yarn moves freely.
3. Is punch needle easy for beginners?
Absolutely yes, punch needle is considered beginner-friendly. The technique is just as simple as many counted-thread embroideries, and many kits are designed to get you started quickly.
4. What can I make with a punch needle kit?
You can create a wide range of items with a punch needle, including wall hangings, pillows, tote bags, patches, small rugs, decorative cushions, and framed art pieces. It all depends on the fabric size, needle size, yarn used, and your creativity.
5. Where can I buy a punch needle kit?
You can buy punch needle kits in bulk at wholesale prices via Jabay’s website by placing an order online, which would be delivered to you anywhere you’re in the world.
6. How long does it take to complete a punch needle project?
Completion time mostly depends on the design size, complexity, and your page. A small beginner piece may take just a few hours; larger or more detailed pieces may require several sessions over days or weeks, depending on the level of skill of the designer.
Conclusion
Learning how to thread a punch needle kit is one of the most perfect and enjoyable steps to enhance your creativity and crafting skills. It’s so simple to learn. All you have to do is understand how the tool works and be consistent with the practice.
However, if you’re looking for where to get a perfect and complete punch needle kit to start with, you can reach out to Jabay, a custom games and crafts manufacturer in China.