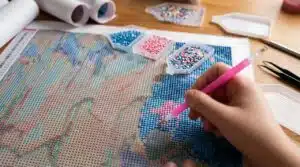
Starting your first diamond painting project might seem complicated or overwhelming when you open the kit and see a coded adhesive canvas, a series of unfamiliar tools, and bags of tiny colored drills with attached numbers.
You don’t have to worry; the basic process is simpler than what you think. What usually takes beginners a little time to learn is not the basic technique, but how to organize their materials, protect the adhesive, keep the drills aligned, and work without getting overwhelmed by a large canvas.
If you are trying diamond painting for the first time, this guide will walk you through the process from choosing a suitable kit to finishing, protecting, and displaying your artwork.
Keep Reading!
What is Diamond Painting?
Diamond painting is a kind of craft that combines two elements, including mosaic art and paint-by-numbers. In a kit, you will see an adhesive canvas printed with symbols, small resin drills in different colors, and tools for picking up and placing the drills.
This is how it works: each symbol on the canvas represents a particular color or drill code. Once you identify the symbol and find its matching drill, you place the drill over that symbol.
What makes this painting fun is that you don’t need drawing or painting experience to get started. The main skills you need are just the ability to read the symbol chart correctly and place the drills on them accurately.
What Do You Need to Get Started?
One advantage of diamond painting is that a standard kit usually contains most of what you need. A standard diamond painting kit usually includes the following supplies:
- Adhesive canvas
- Diamond drills
- Applicator pen
- Wax
- Sorting tray
- Color and symbol chart
- Protective film
As you gain experience, you can also advance to adding tools like light pads, storage containers, tweezers, washi tape, and others.
Pre-Painting Tips You Must Not Miss
Before you begin your diamond painting, keep these tips in mind for a smoother and more enjoyable experience:
Tip 1: Prepare Your Workspace and Canvas
A little preparation can prevent several common problems later. Therefore, you are expected to choose a clean and flat surface where you can comfortably spread out the canvas. A desk or table is usually better than a soft surface such as a bed because you need a stable area for placing the drills.
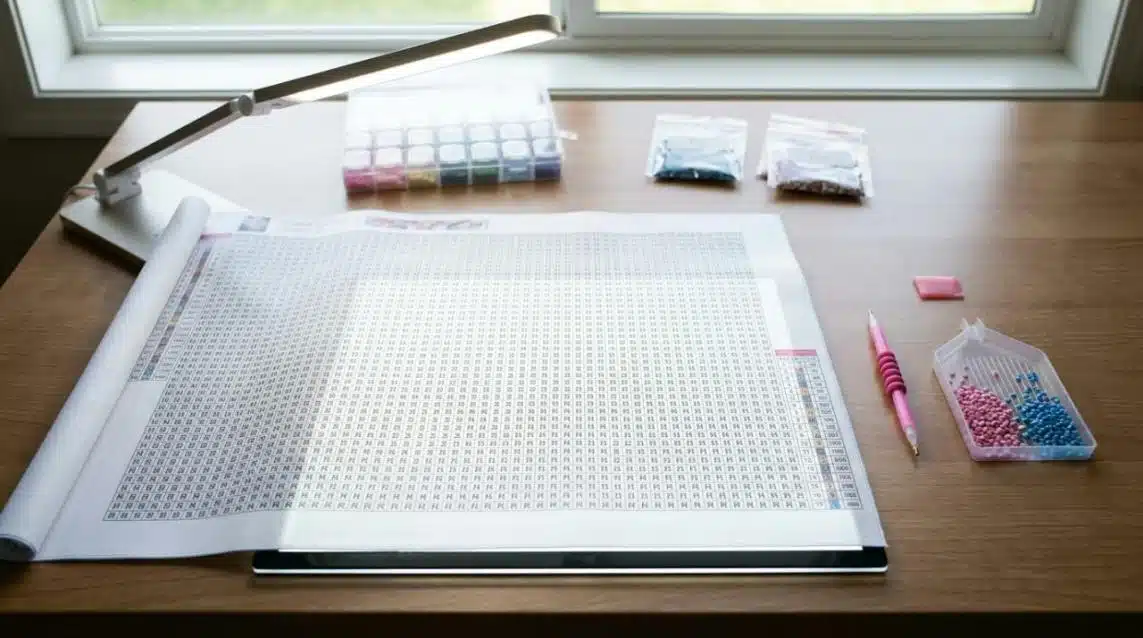
Make sure you keep your tray, applicator pen, wax, and the drills you are currently using within easy reach.
Most importantly, good lighting is always recommended. The symbols printed on the canvas can be small, and some symbols may look similar. Natural light is preferable, especially during the day, while a bright desk lamp or light pad can also make evening sessions easier.
Tip 2: Don’t Remove All the Protective Film
This is one of the most important habits for beginners. The adhesive canvas is always covered by a clear protective film. In that case, it can be tempting for you as a beginner to remove the entire sheet so you can see the picture clearly. Don’t do that because doing so will expose the adhesive to dust, hair, lint, and other accidental contact.
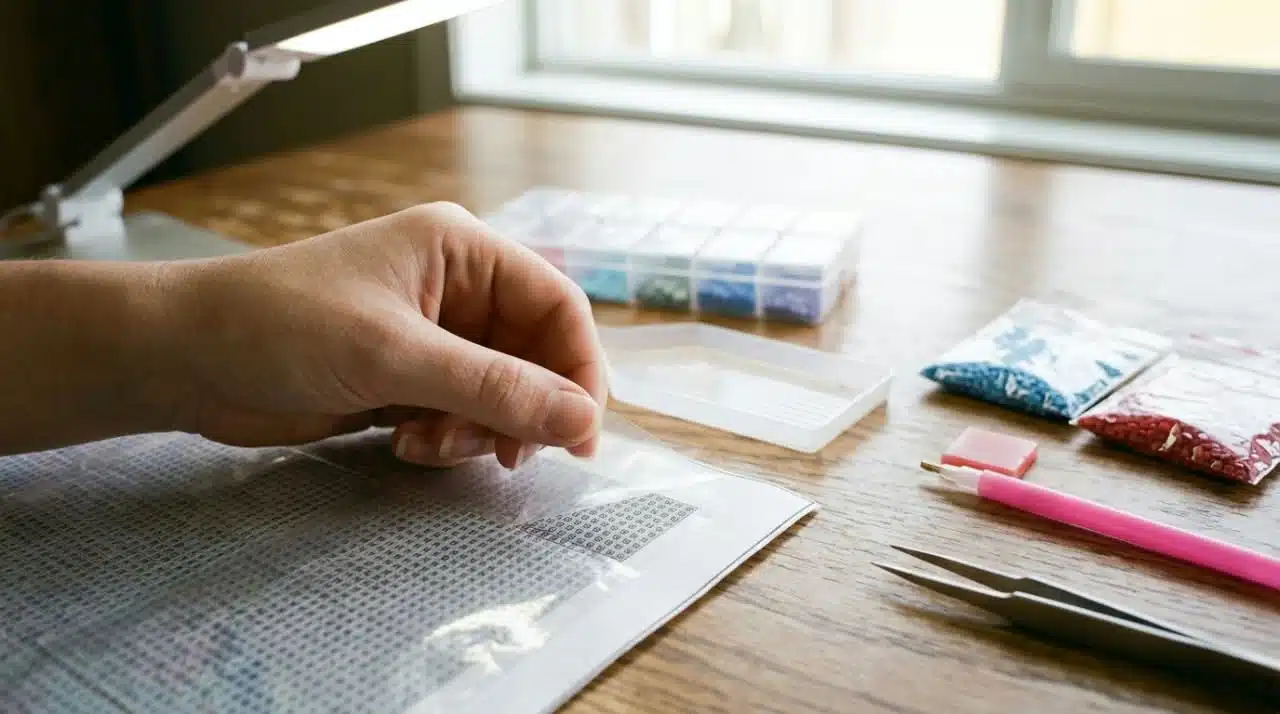
Instead, expose only the section you are currently working on. You can just lift or peel back a small portion of the film, and once you have completed that area, you can then cover the remaining adhesive again.
Tip 3: Learn How to Read the Diamond Chart
Don’t just start placing the diamond drills on the canvas anyhow; you need to take a few minutes to first of all understand the chart.
The canvas contains symbols such as letters, numbers, shapes, or other small markings. The symbol chart tells you which color drill code belong to each symbol.
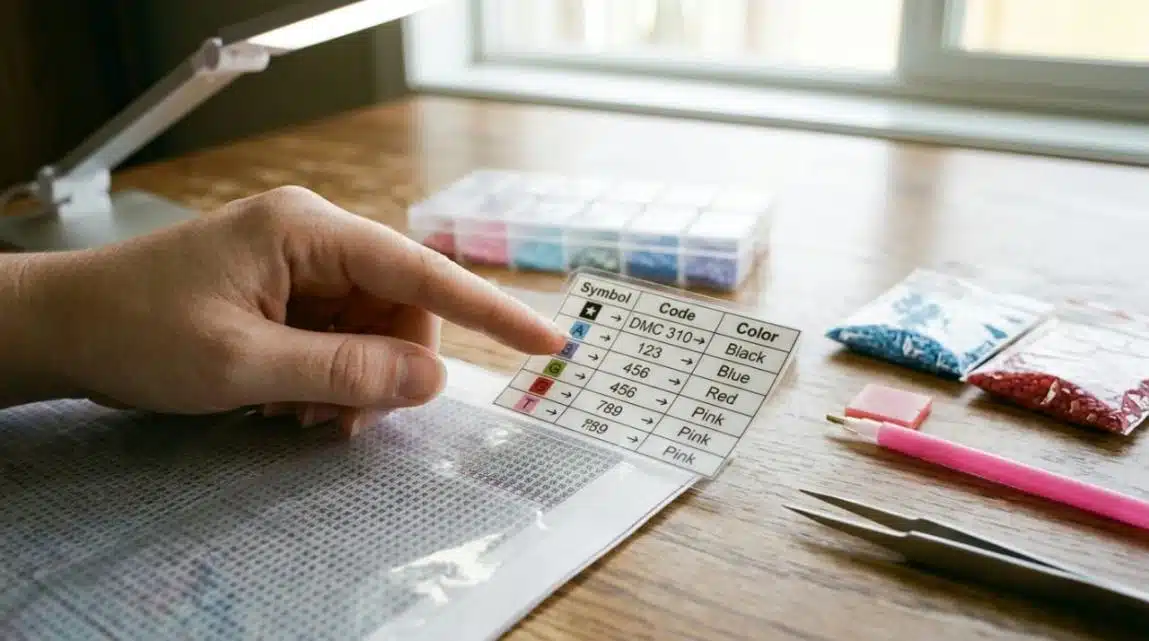
For example, imagine your chart shows:
★ → DMC 310 → Black
Whenever you see the star symbol on the corresponding part of the canvas, you should know that it needs the black drill identified by that code. Some kits use DMC color codes, while others use their own numbering systems. The important thing is to follow the chart supplied with the particular kit.
Tip 4: Organize Your Diamond Drills
Your drills will usually arrive in individual packets labeled with their color or code. However, when you’re about to start your painting, make sure you don’t mix similar colors. Dark blue and black, for example, can look surprisingly similar when several tiny drills are sitting together.
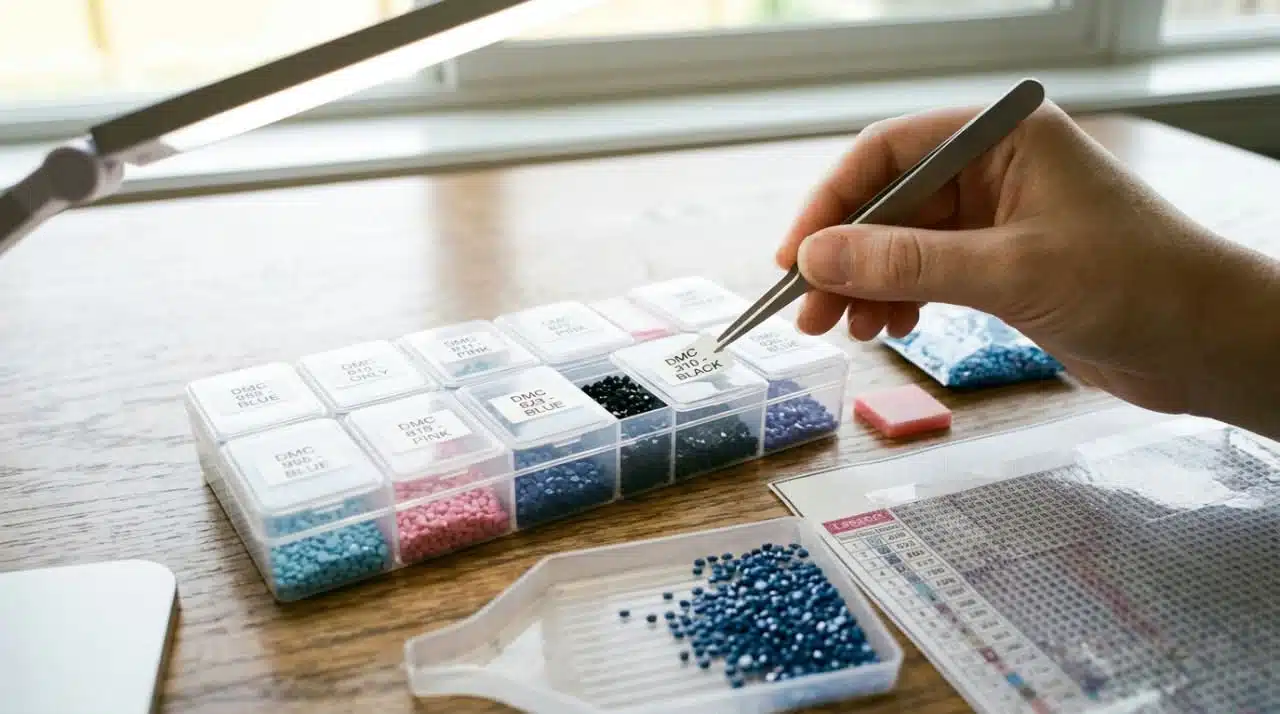
A simple rule is to keep the packet or container label with the drills whenever possible. If you transfer drills into another container, make sure the corresponding code is clearly marked.
Diamond Painting Step by Step
Now that your workspace is ready and you understand the symbols, you can start placing the drills. How do you go about that? Below is a step-by-step process to consider:
Step 1: Choose a small section
Just as mentioned above, start with a manageable area (preferably, an edge or corner can also be convenient) rather than exposing the entire canvas. This will give you enough space to make visible progress without leaving too much adhesive uncovered.
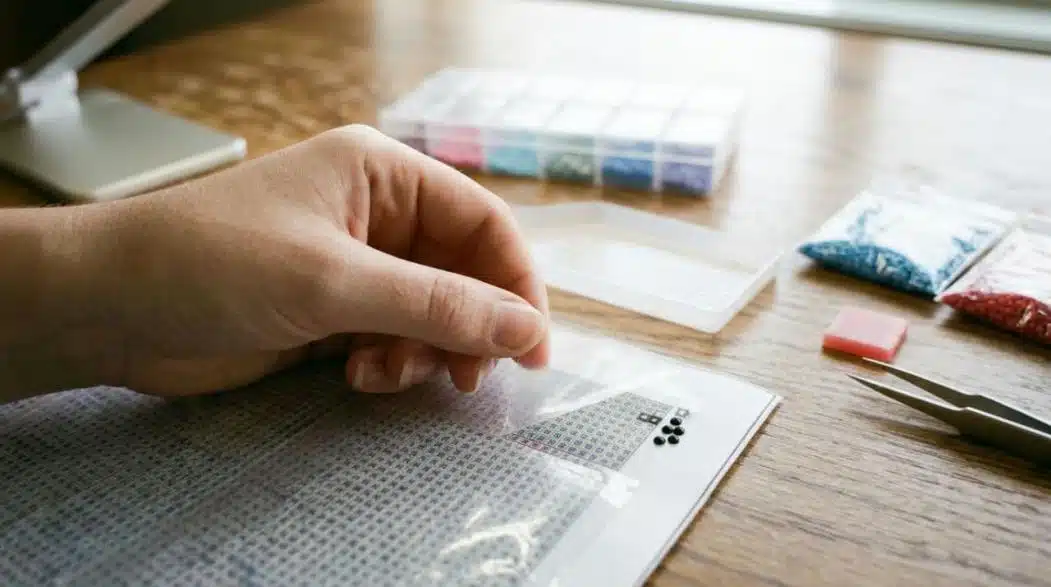
Step 2: Put one drill color into the tray
The first thing to do is to identify one color needed in your selected section, and pour a small amount of that color into the sorting tray. You don’t need to empty the entire packet into the tray.
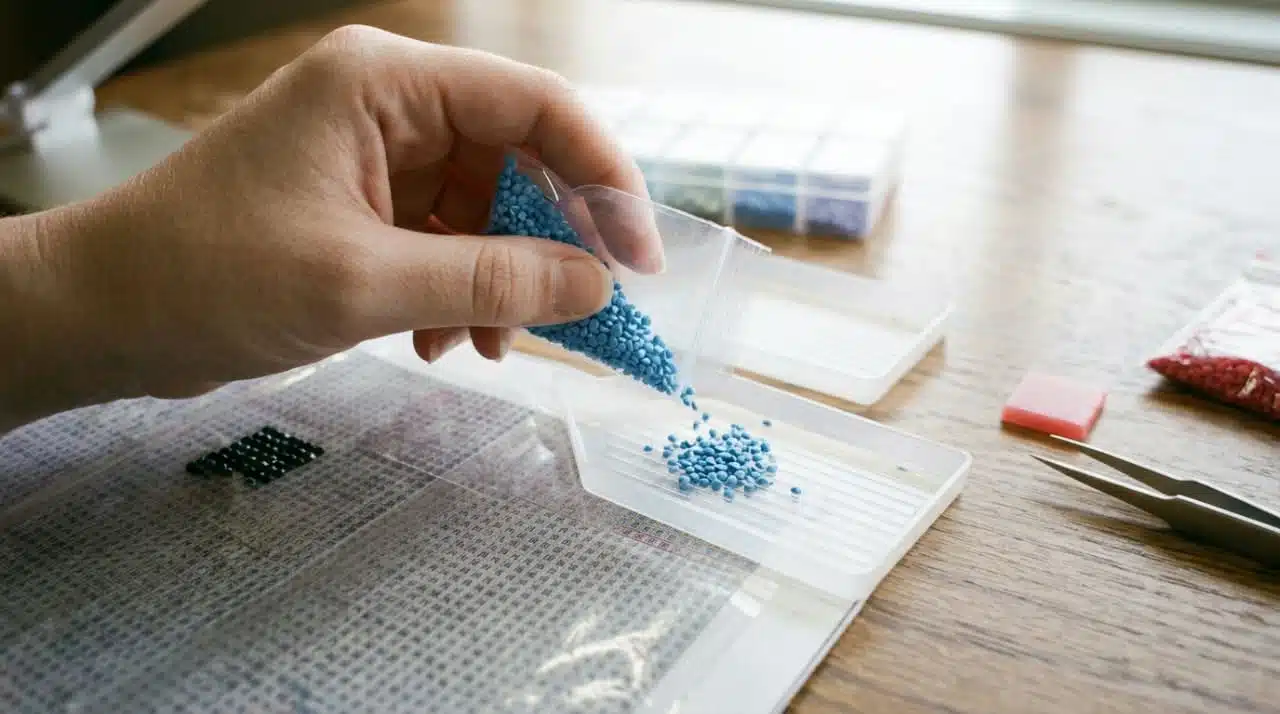
This is very important because working with a small quantity is easier to control and reduces the chance of knocking a large pile onto the floor.
Step 3: Load your applicator pen with wax
Diamond painting pens normally have a hollow tip. What you have to do is just press the tip gently into the wax supplied with your kit. You only need enough wax to create a temporary grip.
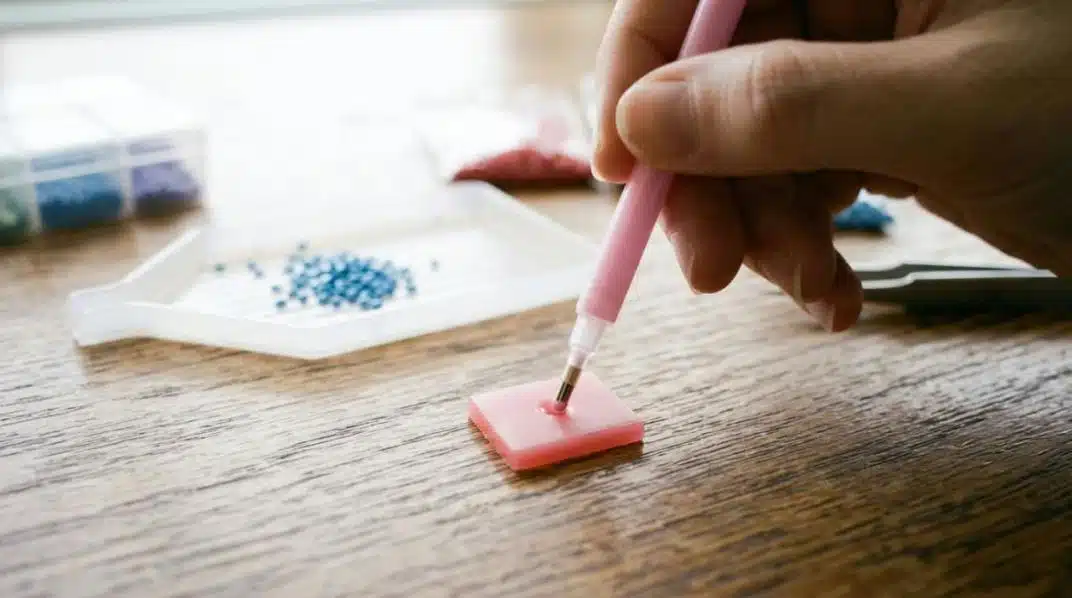
You do not need to push the pen deeply into the wax or keep adding more after every drill. A small amount can pick up multiple drills before it needs refreshing.
So, if the pen stops picking up drills easily, add a little more wax rather than pressing harder against the drills.
Step 4: Pick up a drill
Touch the waxed tip of the pen to the faceted top surface of the drill. Then lift the drill from the tray. Now, don’t forget the orientation (the flat side goes against the adhesive canvas, while the faceted side faces upward)
The tray makes this easier because it helps orient the drills before you pick them up.
Step 5: Find the matching symbol
This is where you need to be very careful. Look at your exposed section and identify the symbol that corresponds to the drill you are holding. At this point, your chart becomes your main reference.
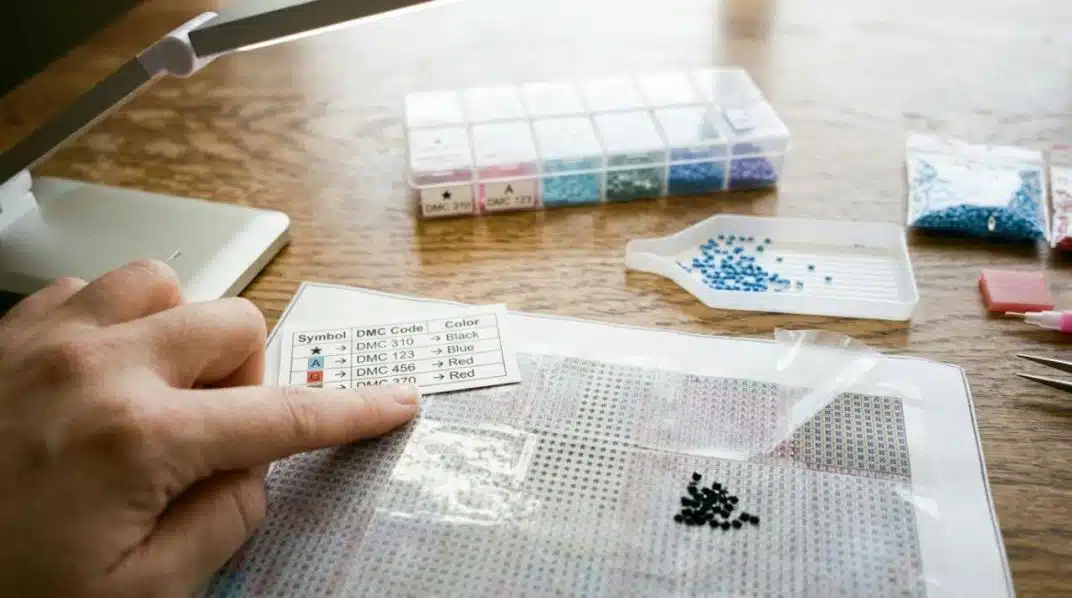
If you are working with a color that appears in several places, you can continue placing that same drill wherever the matching symbol appears within the current section.
Make sure you are not just guessing when symbols or colors look similar; instead, check the chart again and again before placing the drill on the canvas.
Step 6: Place the drill
Position the drill directly over the matching symbol, then press it gently onto the adhesive and lift the pen. The drill should remain attached to the canvas. That is how you move on by repeating the same process:
Pick up → match → place → repeat.
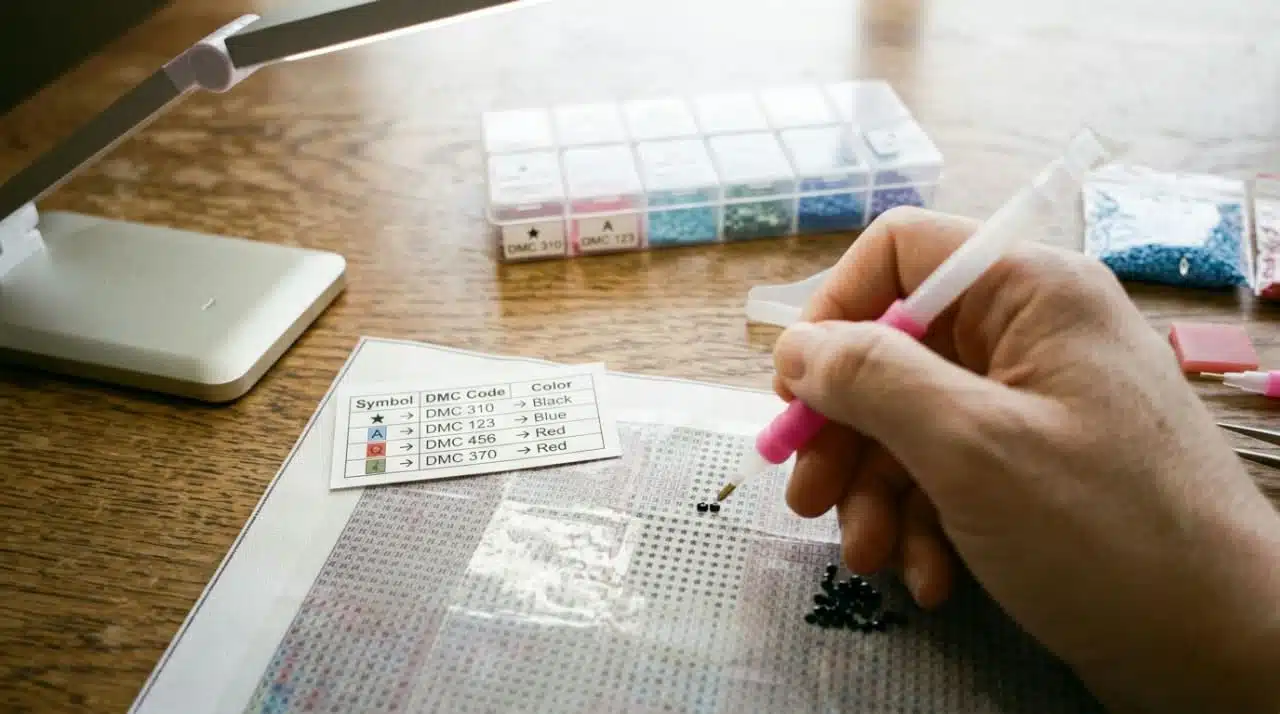
As you become more comfortable, you realize that your movements become faster and more natural.
Should You Work by Color or by Section?
There are two common ways to approach a diamond painting:
Color-by-color
This involves you choosing one drill color and placing it wherever that color appears in the section you are working on. It is more efficient when a particular color appears frequently.
Section-by-section
This is when you complete all the colors within one small area before moving to another part of the canvas.
For beginners, section-by-section work can be easier to manage because it keeps your workspace organized and limits how much adhesive is exposed. However, there is no single correct method. You can try both approaches to see the one that feels more comfortable for you.
Common Diamond Painting Mistakes and How to Avoid Them
- Removing the entire protective film:When you remove the entire protective film from the beginning, you expose the adhesive on the canvas and make it vulnerable to any debris like dust, hair, water, and others. What to do is to make sure you work in small sections and keep the unused adhesive covered.
- Mixing similar colors:It might be difficult to differentiate similar shades once they are mixed. Therefore, keep each color in its labeled packet or container and work with one color at a time.
- Filling the tray too much:A full tray can be harder to control, especially if it gets knocked. So, try to start with a small quantity and refill the tray when necessary.
- Working in poor lighting:If you’re using poor lighting, the symbols might become difficult to distinguish for you, increasing the chance of placing the wrong drill. You can work somewhere well-lit or use a suitable desk lamp or light pad.
- Trying to work too quickly:As a beginner, you’re not expected to rush, so you won’t skip symbols, misplace colors, or place the drill unevenly. Instead, make sure you totally concentrate on accuracy first; the speed will naturally follow.
Frequently Asked Questions
Is diamond painting difficult for beginners?
No, the basic process is actually simple, and once you get it, you start enjoying it. All that is needed is consistent practice with organized materials and the ability to distinguish symbols.
Should I start with round or square drills?
Round drills can be a little more forgiving for beginners because small alignment differences are less noticeable. However, square drills create a tightly packed appearance but require more careful placement. The truth is, either can be a good choice once you understand the technique.
How do I keep diamond drills straight?
Make sure you place each drill carefully and check your rows regularly. If you notice a noticeably crooked drill, adjust it before surrounding pieces make it difficult to reach.
What should I do with leftover diamond drills?
You can keep them labeled until you are certain the project is finished. Extra drills can be useful if you later discover a missing or damaged piece, and you can also use them for future craft projects.
Final Thoughts
Diamond painting becomes much less intimidating once you understand the basic workflow. As a beginner, you don’t have to master everything before placing your first drill; as you proceed with the process, you naturally get it. All you have to do is note all the steps stated above while working on your project.
If you’re a beginner looking for a perfect piece to start or a wholesaler who wants to get Diamond painting in bulk, you have to worry less. You can get affordable, simple, and well-detailed diamond painting packages from Jabay Games. Place your order today!