What is Color Shrink Plastic? A Beginner’s Guide to Shrink Plastic Art
One of the most interesting things that makes shrink plastic special is its transformative process. The moment when the plastic twists or shrinks into a tiny colorful artwork, and seeing this is what makes many people love this artwork.
Are you a parent looking for a fun craft activity for your children, or a beginner who wants to explore DIY shrink plastic? You’re in the right place.
In this guide, you will come across everything you need to know about shrink plastic, including its basic concepts, how it works, and what you can create with it. Keep reading to find out!
What is Color Shrink Plastic?
Color Shrink plastic (popularly known by the brand name Shrinky Drinks) is a popular and special type of thin plastic that shrinks roughly to 1/3 of its original size when heated.
This is how it works. The plastic is heated in an oven or with any heating tools until it becomes twisted and drastically flattened into its final hardened shape. During this process, the design will then become smaller and thicker compared to its original form.
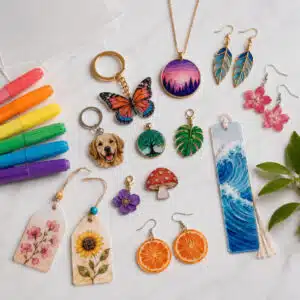
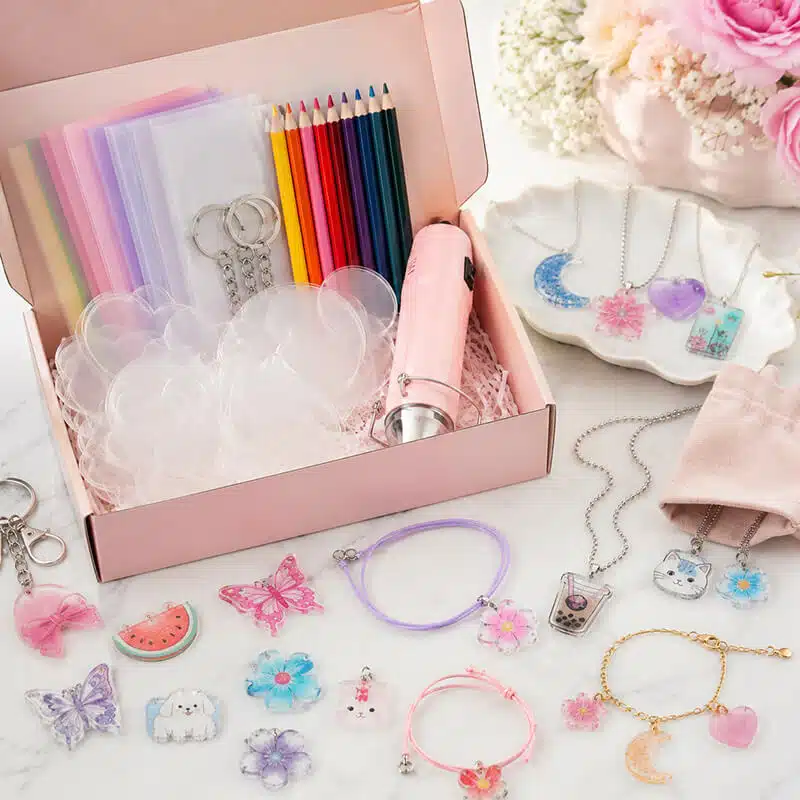
Today, many people use color shrink plastic for different purposes, which some of them include:
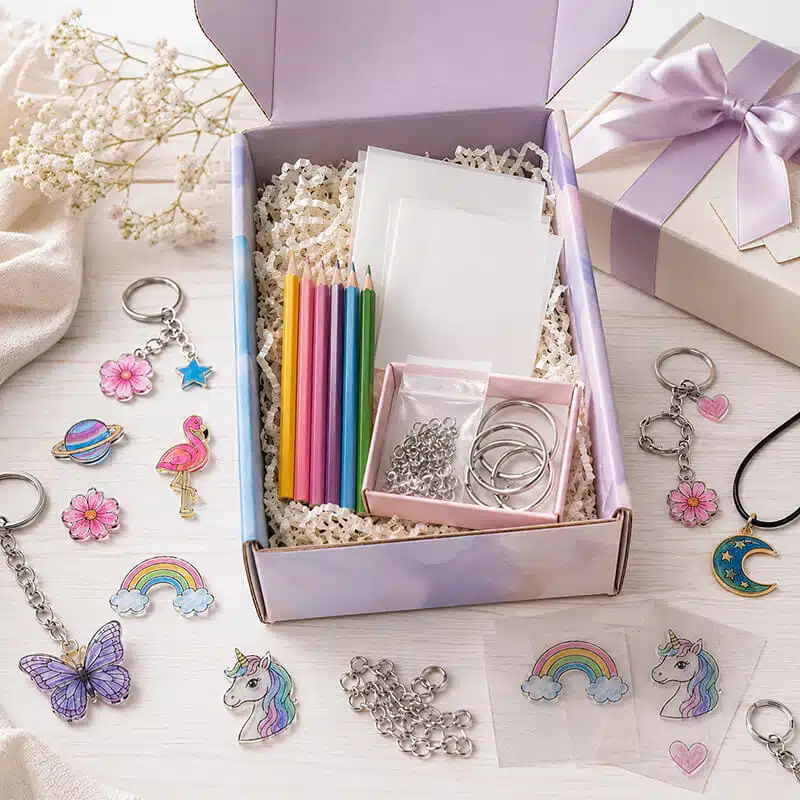
- Keychains
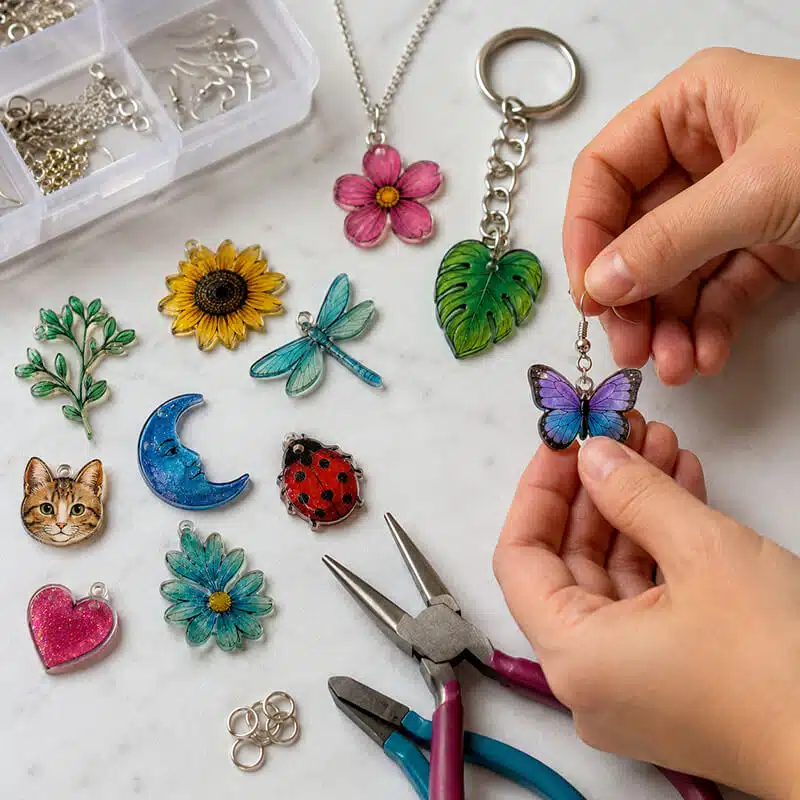
- Earrings and jewelry
- Pendants
- Bag accessories
- Decorative pins
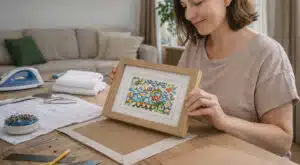
- Educational crafts
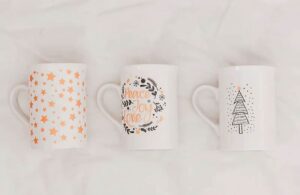
- Gifts
What makes this artwork special is that it combines science and creativity in one activity.
Why is Color Shrink Plastic So Popular?
Have you ever asked the question, ” Why do people always go for color shrink plastic? Below are some of the reasons:
- It’s Beginner-Friendly
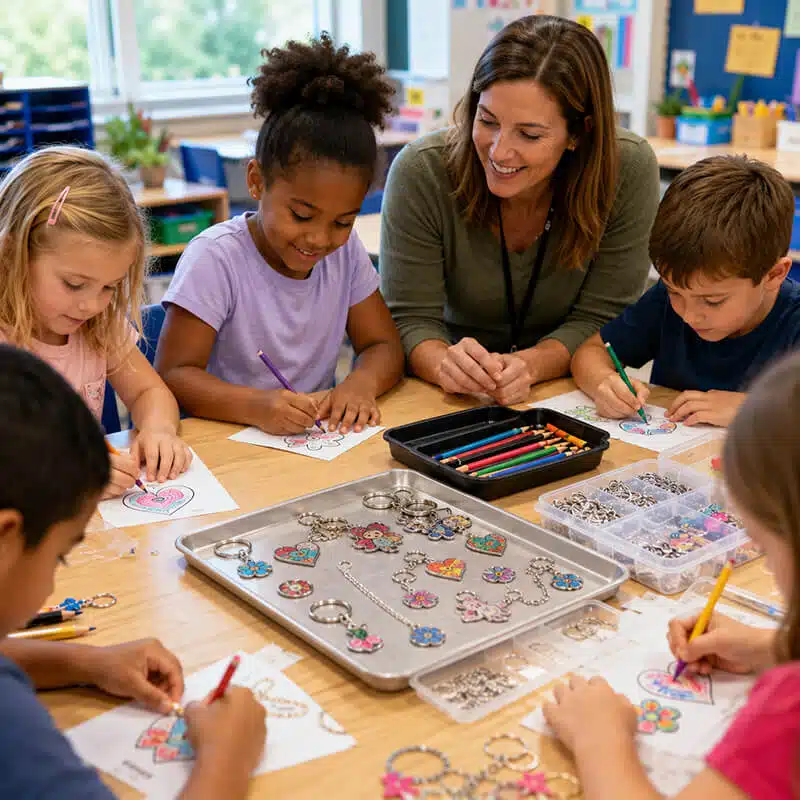
Compared to many artworks, color shrink plastic is easy to learn and does not require an extensive period of time once you follow the highlighted procedure and instructions. This makes it perfect for almost everyone, including kids learning crafts, beginners exploring DIY crafts, and family craft sessions.
- The Experience
The excitement derives while watching the plastic transforming or shrinking from its original form to a tiny, durable charm makes many people keen to get and make shrink plastic. In fact, it’s mostly used as a scientific experiment or project to teach kids in schools.
- It’s Versatile
The interesting thing about color shrink plastic is that it is versatile. You can use it for different purposes. Some use it as plastic jewelry, others use it for custom earrings, and so on.
- It’s Creative
Color Shrink Plastic enhances creativity and gives users the freedom to express themselves. It’s the best recommendation for kids and young adults who prioritize creativity.
Types of Shrink Plastic
The funny part is, shrink plastic sheets are not always the same. Different types are designed for different creative needs. Some of these are explained below:
Clear Shrink Plastic
Clear sheets become transparent after shrinking, making them excellent for something like Jewelry, window charms, layered artwork, and others. Most artists often use colored pencils or alcohol markers on clear sheets for vibrant effects.
Frosted Shrink Plastic
Frosted shrink, on the other hand, has a matte surface that grips colored pencils well. It’s always recommended for beginners because drawing and shading feel more natural on it.
White Shrink Plastic
What white shrink plastic provides is an opaque surface that is similar to paper. The thing about this kind of shrink plastic is that colors usually appear bright and bold on it.
Printable Shrink Plastic
Some shrink plastic sheets are specifically designed for printers, allowing users to print directly onto the plastic before shrinking.
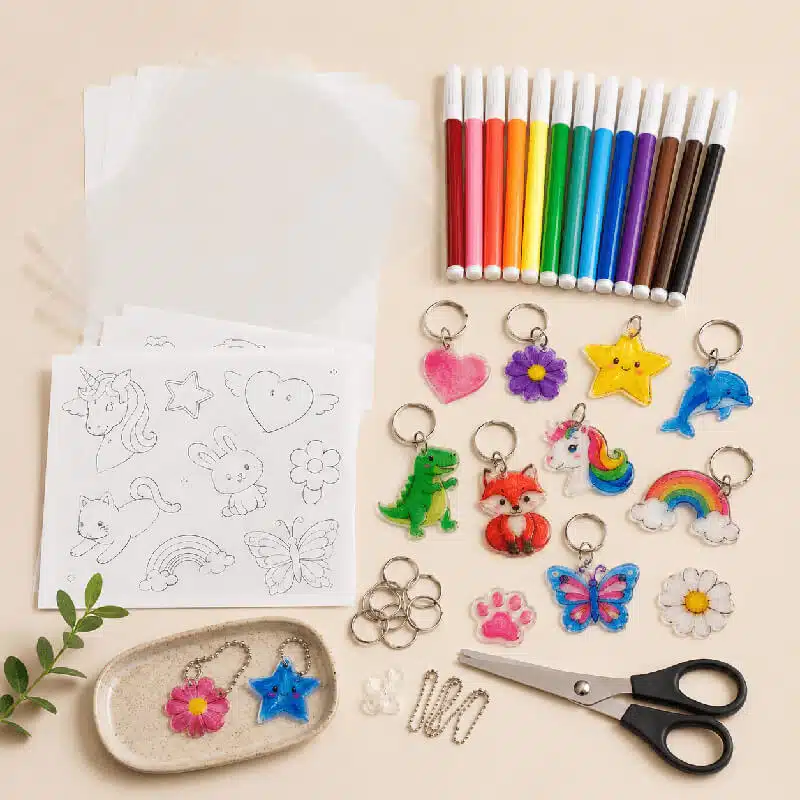
Basic Tools and Materials You Need for Color Shrink Plastic Design
You don’t need to spend much money to get started with shrink plastic. All you need are just a few tools and equipment.
- Shrink Plastic Sheets
This is the foundation of your project. Everything you will be doing is executed on shrink plastic sheets, and the type you choose will determine your outcome. It’s always recommended for beginners to start with frosted or white sheets because they are easier to color.
- Coloring Materials
You need this for the creative pattern or artistic effect you want to design. The popular coloring tools you can consider include colored pencils, permanent markers, alcohol markers, acrylic paint, and others.
- Scissors
Scissors will be helpful to cut out your design before shrinking, and precision scissors are highly recommended, especially if your design is very detailed.
- Hole Punch
A hole punch would be useful if you’re making charms or keychains shrink plastics. All you have to do is to punch the holes before heating the plastic so the holes can shrink along with the design.
- Oven or Heat Tool
Many people use a conventional oven to heat their shrink plastic, though heat guns can also work for some projects. The most important of all is that you follow the manufacturer’s temperature instructions.
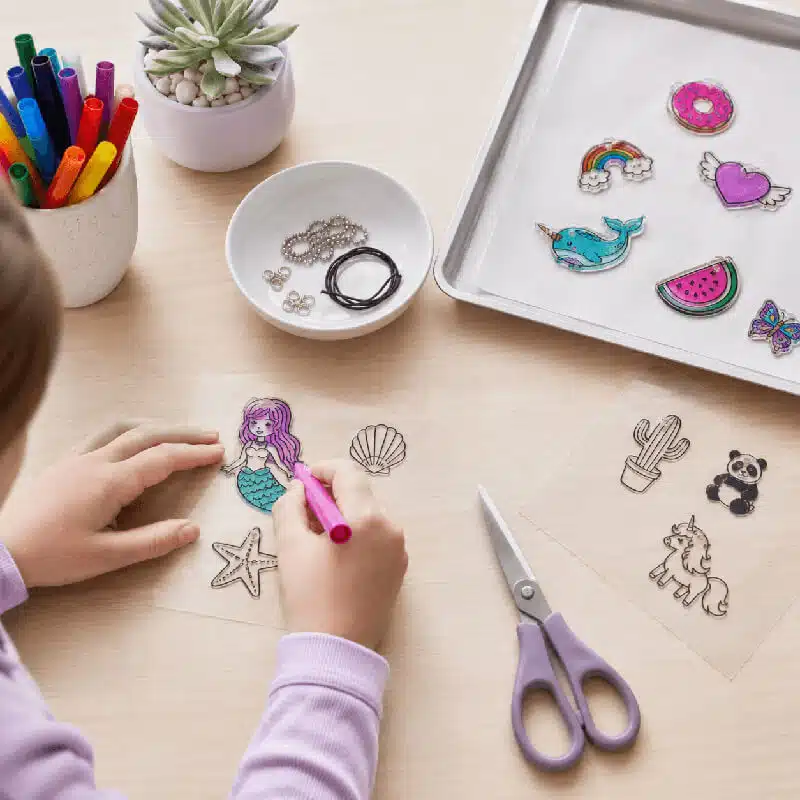
How to Make Shrinky Plastic Art
Making shrink plastic does not require any special intelligence or talent; it’s just so simple for anybody to get. All you need to do is to follow the step-by-step process explained below:
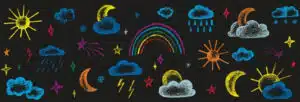
Step 1: Create Your Design
The first thing to do is to draw or trace your design onto the shrink plastic sheet. Remember, the design will shrink significantly, so make sure your design is larger than your intended final size.
Step 2: Color Your Artwork
Now, you can add colors to your design using any preferred art materials mentioned above. Importantly, you have to keep in mind that colors often become darker after shrinking.
Step 3: Cut Out the Shape
Make sure you carefully cut out your design before shrinking, not after, to ensure accuracy. Also, if needed, punch holes in the plastic before heating.
Step 4: Heat the Plastic
If you’re using an oven, make sure you place the plastic on parchment paper before putting it in the oven. You have to wait for the plastic to shrink as the transformation often takes 1-3 minutes.
Step 5: Let it cool
Once the plastic is flattened and you have removed it from the oven, you have to allow it to cool. After cooling, the piece becomes hard and durable.
Common Mistakes You Should Avoid
It’s normal to make a mistake as a beginner, but not to continue repeating the same mistake. Below are some of the mistakes and how you can avoid them:
- Making Designs Too Small
You have to remember that shrink plastic will shrink, making it 1/3 smaller than the initial design you made. Therefore, make sure you start with larger designs; you can even calculate the measurement of your proposed result and multiply it by 3 to arrive at the size you will design.
- Overheating the Plastic
Too much heat can burn or permanently warp the plastic. Therefore, make sure you monitor the shrinking process carefully and follow the temperature instructions given by the shrink plastic manufacturer.
- Forgetting to Punch Holes
This is a common mistake that most people make. They forget to punch holes before shrinking, which makes punching after unnecessary. If you want to make jewelry or keychains, make sure you punch before shrinking.
- Cutting After Shrinking
Another common mistake is cutting after shrinking. Don’t forget that shrinking makes the plastic hard, which would eventually make it more difficult to cut compared to when the plastic is still soft.
Tips for Better Shrink Plastic Art
Below are some tips that might be helpful for you as a beginner:
- Use Bold Lines: Ensure your outlines are thick because thicker outlines stay more visible even after shrinking.
- Test Colors First:Don’t just start painting if you haven’t tested your colors in a draft sheet, because colors become richer and darker after heating. In fact, you can even get more inspiration and design it better if you have tested your idea before execution.
- Experiment Freely:One of the best things about shrink plastic art is that experimentation often leads to the most creative results. Therefore, don’t be afraid to try unusual designs, textures, or layering techniques.
FAQs
- Can shrink plastic go in a regular oven?
Yes, of course. Most shrink plastic is designed to be heated in a conventional oven.
- Is shrink plastic safe for kids?
Shrink plastic crafts can be safe for children when used with proper supervision. While many Shrink Plastic art kits are specifically designed for kids, it’s advisable for adults to properly guide them, especially during the heating process.
- Can I print designs directly onto shrink plastic?
Yes, you can. Some types of printable shrink plastic are designed for inkjet printers, allowing users to print digital artwork directly onto the plastic before shrinking it.
- What is the best shrink plastic for beginners?
Foster shrink plastic is often considered to be the best option suitable for beginners because it is easy to draw on and work well with colored pencils.
- Why are my shrink plastic pieces turning out blurry or too dark?
The design can look blurry if the ink or marker is incompatible with the plastic surface or when colors become more concentrated after shrinking.
Final Thoughts
Shrink plastic is not just a simple artwork but an endless and creative practice that gives users the best satisfaction. It offers a fun and accessible way to turn imagination into a real and lasting artwork experience.
Whether this is your first time doing shrink plastic or not, watching it shrink never stops being fun and therapeutic.
Maybe you’re a wholesaler who wants to supply shrink plastics in bulk, or an institution that wants to get creative shrink plastic for kids, you can easily reach out to Jabay Games for quality and perfect shrink plastics, with stress-free delivery anywhere you are in the world.